From Ashes to Glory
My last blog post and video, “5 Ways To Cultivate Your Creative Voice,” generated a lot of interesting conversation from you all around the theme of artistic inspiration. I’d like to share a story in response from my own artistic journey, hoping to reassure you that we all go through difficult times creatively, and struggle with a lack of inspiration.
I was 25 and just a couple years out of college with a degree in Illustration. I was renting a commercial studio space in Danbury, CT and engaged full-time in the noble pursuit of becoming a working artist. One evening, while I was working alone in the studio, an electrical fire sparked across the hall in our building, engulfing half of the second floor in flames and leaving my entire studio—and all my artwork—covered in a black blanket of ash. While very thankful that the fire was extinguished on the other side of the wall, I was left with a feeling of real loss as I moved my studio into a small bedroom at my parent’s home for a few months during renovations. Even though I continued to work, this was one of the darkest creative periods of my life.
Attempting to get my creative juices flowing again, I drove three hours to attend an exhibition at the Museum of Fine Arts in Boston by the great Anglo-American artist, John Singer Sargent. I had no idea how profoundly this day would impact me. Sargent’s one man exhibition illuminated my senses with a combination of bold painterly realism and experimental impressionism spanning subjects as broad as seascapes, landscapes, figurative paintings and society portraits. The sheer scale of Sargent’s work alone stunned me, with life size multi-figurative canvases bursting forth with artistic energy and technical wizardry. I was laid bare. There was no turning back now.
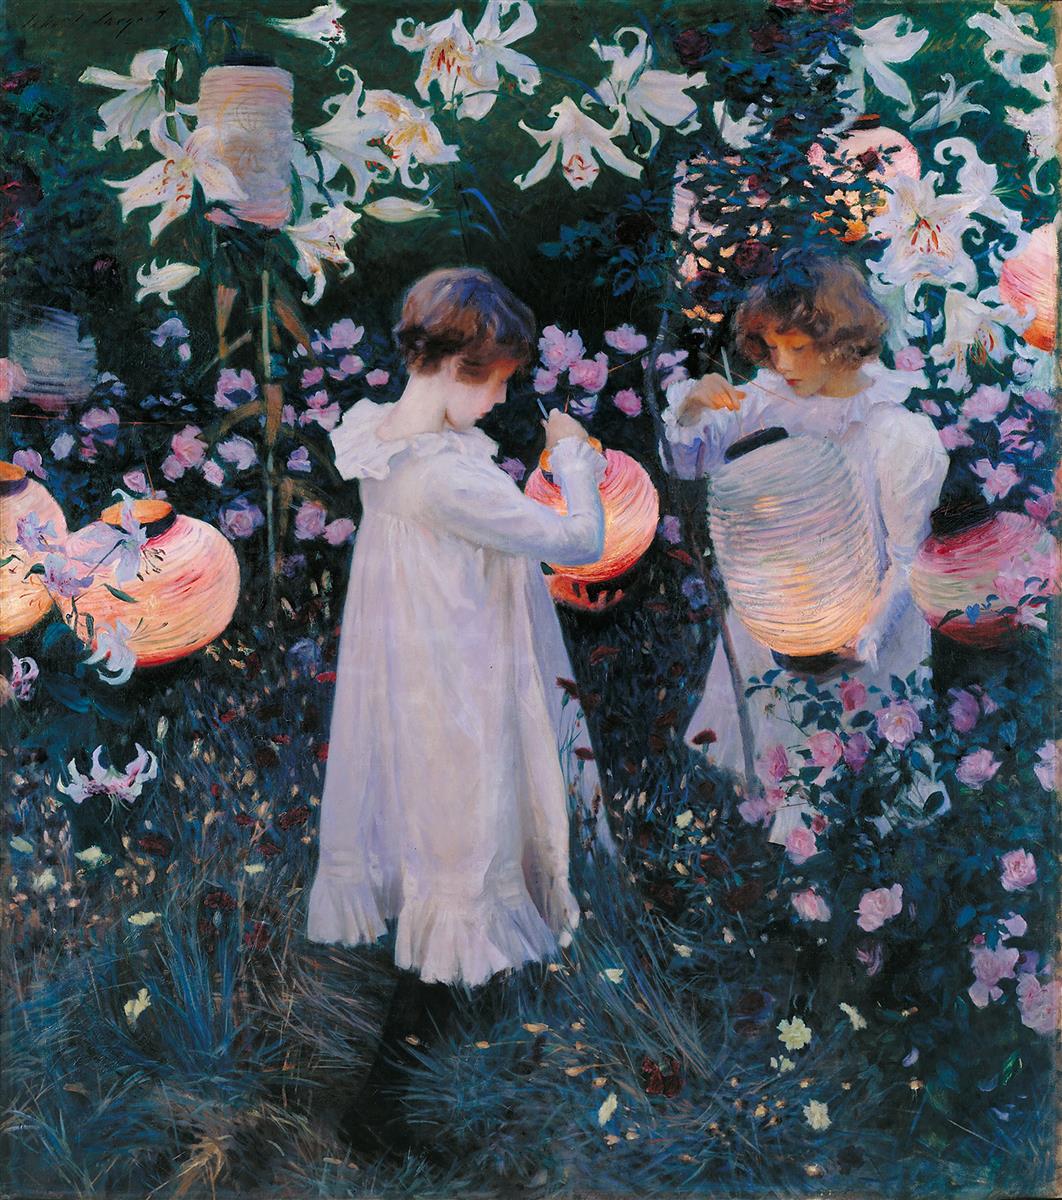
Carnation, Lily, Lily, Rose Oil on Canvas by John Singer Sargent, 68.5 × 60.5”
One of the featured works in the exhibition was this wonderful large scale painting, “Carnation, Lily, Lily, Rose.” I can still recall how moved I was by Sargent’s treatment of these two children with such grace, style and sensitivity. I bought the exhibition book and brought it home with me for further enjoyment and inspection. This encounter set me on a new trajectory in pursuit of bolder, more emotive portrait and figurative paintings that combine subtle realism with expressive impressionism. This pursuit would take decades to fully realize. I’m grateful for the difficult time I went through that allowed me to open up to a new creative discovery.

Edouard and Marie Louise Pailleron by John Singer Sargent 1881

Home Fields by John Singer Sargent 1885
So how about you? What unique works or experiences have inspired you? Please share them in the comments below, and post your favorite painting. Let’s fuel our inspiration together!