Pastels vs. Oil and Acrylics Paints: Mastering Hair Drawing

In the world of art, one of the most captivating and challenging subjects to master is drawing realistic and expressive hair. Whether it's the cascading tresses of a portrait subject or the windswept locks of a landscape figure, achieving lifelike hair can be a true test of an artist's skill. While various mediums offer their unique strengths, Pastel Pigments or Sticks stand out as the ultimate choice for capturing the intricate beauty and emotion of hair when compared to Oil and Acrylics.

The Pastel Advantage:

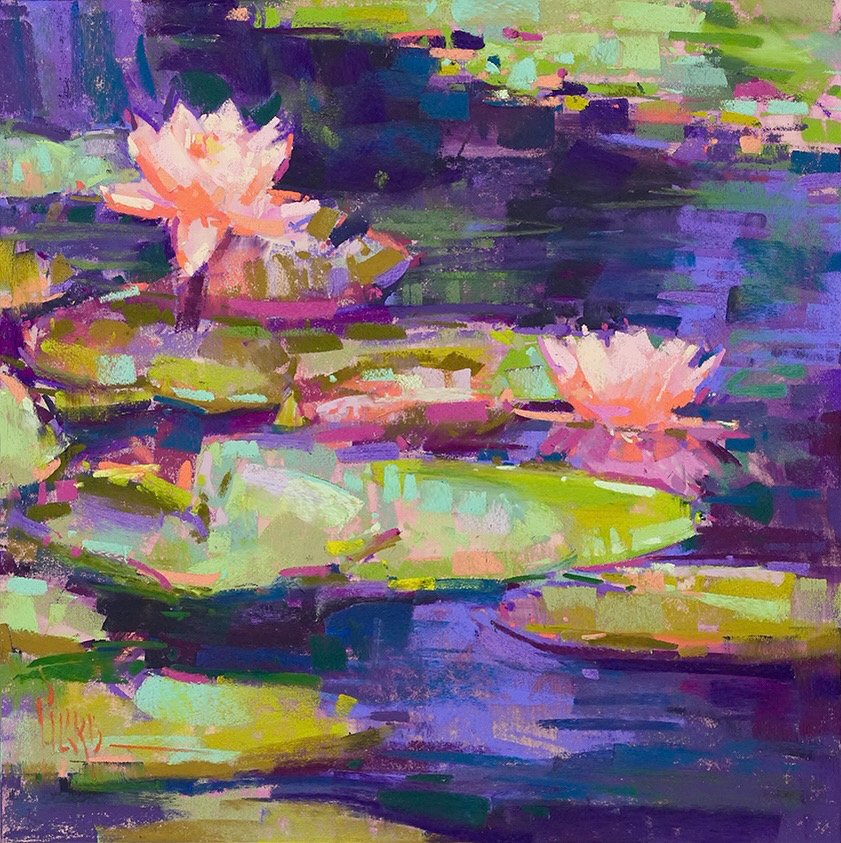
comparing pastel pigments and oil and acrylic paint when painting hair in a portrait with Alain Picard

Pastel Pigments (you might call them paints) are revered among artists for their unrivaled ability to bring hair to life on paper or canvas. Let's explore how pastels stack up against other mediums like Oil and Acrylics when it comes to drawing realistic and expressive hair:

1. Velvet-Like Texture:

Pastels offer a luxurious, velvet-like texture that closely mimics the softness and complexity of human hair. This unique quality allows artists to create intricate details, subtle transitions, and a range of textures that are challenging to achieve with other mediums. In contrast, Oil and Acrylics can sometimes result in a smoother, less textured appearance, making it challenging to achieve intricate hair details.

2. Rich Color Variations:

Hair isn't just one color;  it is a complex interplay of hues and tones. Pastels provide an extensive palette of rich, vibrant colors that can be easily layered and blended [link to a post that mentions blending] to capture the depth and complexity of hair. Whether it's the warm highlights of auburn locks or the cool shadows of silver strands, pastels allow artists to achieve astonishing realism. Oil and Acrylics may require more effort to achieve the same level of color variety.

3. Expressive Mark-Making:

We often talk about the importance of mark-making this is where Pastels far exceed other mediums enabling artists to make expressive marks that mirror the natural flow and movement of hair. Whether you're working on flowing waves, tousled curls, or sleek straight locks, pastels excel in conveying the dynamic nature of hair with each stroke. Oil and Acrylics, while versatile in their own right, can sometimes result in less dynamic and detailed mark-making when it comes to intricate hair details because they must be applied with a brush and can't create the same level of direct and intimate connection with your marks that sticks of pastel held in the hand can convey.

4. Layering and Blending:

Another key advantage of pastels is their exceptional layering and blending capabilities. Artists can gradually build up layers of color, allowing for a seamless transition from shadows to highlights. This flexibility is essential for capturing the multidimensional aspects of hair. Oil and Acrylics require careful layering techniques to achieve similar results, making pastels a more forgiving choice for capturing the multi-dimensional aspects of hair and enabling even beginner and emerging artists to achieve advanced painter results. 

5. Instantaneous Feedback:

Pastels provide artists with immediate feedback, allowing them to see colors and textures develop in real-time. Oil and Acrylics may require longer drying times and changing values when dry, making it challenging to make on-the-fly adjustments, a crucial aspect when rendering the intricacies of hair.

6. Versatility Across Surfaces:

Pastel pigments can be used on various surfaces, adapting to the artist's preference. In comparison, Oil and Acrylics often require specific surfaces or priming, limiting the artist's choice.

In the world of art, the choice of medium plays a pivotal role in bringing your creative vision to life. When it comes to drawing realistic and expressive hair, pastels emerge as the ultimate choice, offering a tactile advantage over Oil and Acrylics. Their texture, color versatility, mark-making capabilities, and responsiveness make them the preferred medium for artists seeking to capture the intricate beauty of hair. Join us on a journey of pastel mastery and discover why it's the unrivaled choice for lifelike hair drawing.

example of drawing hair with  pastels

Glimmer 12x18” soft pastel

Join Us in Exploring Portrait Painting Mastery:

If you're passionate about honing your skills in drawing realistic and expressive hair with pastels, we invite you to join our Painterly Portrait Course. In this comprehensive course, we delve deeply into the art of capturing various hair and skin tones with pastels, providing you with a unique advantage over other mediums.

While Oil and Acrylics certainly have their merits, pastels shine when it comes to the intricate art of drawing hair. Join us on a journey of pastel mastery and unlock the secrets to creating hair that truly comes to life on your canvas (or paper which is what we use with pastels, surpassing the capabilities of other mediums.


Feeling Grateful for You: Pastel Painting Techniques Can Transform Your Art and Life

Creating art with pastels can be an enlightening experience. The ability to layer and blend colors allows us to explore different tones and shades effortlessly. Whether you're painting a serene landscape or recreating a photo from your last vacation, pastel techniques provide endless possibilities for artistic expression. [Video]

Read More

We Are All Students: 4 Powerful Lessons for Aspiring Pastel Artists

I just returned from a trip to Nashville, TN where I was meeting with a group of online business owners to learn, grow, and gain insight into how to better serve artists online. Walking into The Graduate Hotel, their mantra is written on the floor; “We Are All Students.” I love this, because it represents a growth mindset instead of a fixed one.

The fixed mindset believes that talent—without the application of effort—creates success. You’re either born with it or you’re not, and there’s nothing you can do to change it. This way of thinking is dangerous because it causes you to avoid challenges and resist criticism. I often see many art students fall into this mindset in my classes and workshops.

A growth mindset believes that our most basic abilities—like talent and intelligence—can be improved through effort, perseverance, and experience. Artists in a growth mindset crave challenges, welcome constructive criticism, view setbacks as learning opportunities, and develop a passion for hard work and a hunger for growth. They know that getting better is a process. One that requires the right attitude and dedication over time.

As you can see, the right mindset changes our behaviors and the results we will gain. So which mindset will you choose? This choice will powerfully shape the progress you make. 

I still remember the day I picked up my first set of pastel colors, bright and full of potential. It was a figure drawing class in college. The thought of transforming these colors into a piece of figurative art was exhilarating yet daunting at the same time. My heart was filled with passion but my mind was clouded with self-doubt, questioning whether I had what it takes to be an artist.

Looking back now, I realize that those doubts were not only normal but also necessary for growth. That’s why today, I want to share four important lessons that have helped me in my artistic journey and can empower other women and men who wish to venture into the world of pastel painting.

1. Embrace a Growth Mindset

The first step is always about changing your mindset - choose progress over perfection! You don’t need to create a masterpiece every time you pick up your pastel sticks; what matters more is learning from each stroke you make on the canvas (or as we use in the Pastel world Paper or Board). In our workshops, we encourage you to move forward and continue practicing instead of only working on one piece.

2. Overcome Self-Doubt

It's perfectly normal to doubt yourself when trying new techniques like pastel layering or expressive mark making or stepping out of your comfort zone – it’s part of being human! Remember that this self-doubt doesn't define your abilities as an artist; instead use it as fuel for growth and motivation.

3. Cultivate Patience

Remember, Rome wasn't built in a day! Just like any skill, mastering art takes time and consistent effort so don’t be disheartened if progress seems slow initially. It's all about taking small steps towards bigger goals!

4. Take The Next Step

Finally, just take one step at a time – one sketch at a time! Every piece you create brings you closer to becoming the artist you aspire to be!

These strategies aren’t just relevant for aspiring artists but are also crucial for entrepreneurs starting their own art journey – persevering through challenges, constant learning, overcoming self-doubt and patience are the cornerstones of any successful venture.

Now, imagine having a community of like-minded individuals cheering you on and inspiring you to take those small steps. A place where you can share your work, learn from others, and grow together. Sounds amazing right? That's exactly what we're offering! So why wait? Join us today to start your journey toward becoming a pastel painting artist!

Keep showing up for your creative dreams,

Alain

A New Lesson To Inspire You!

Are you looking for inspiration today?
Look no further! 

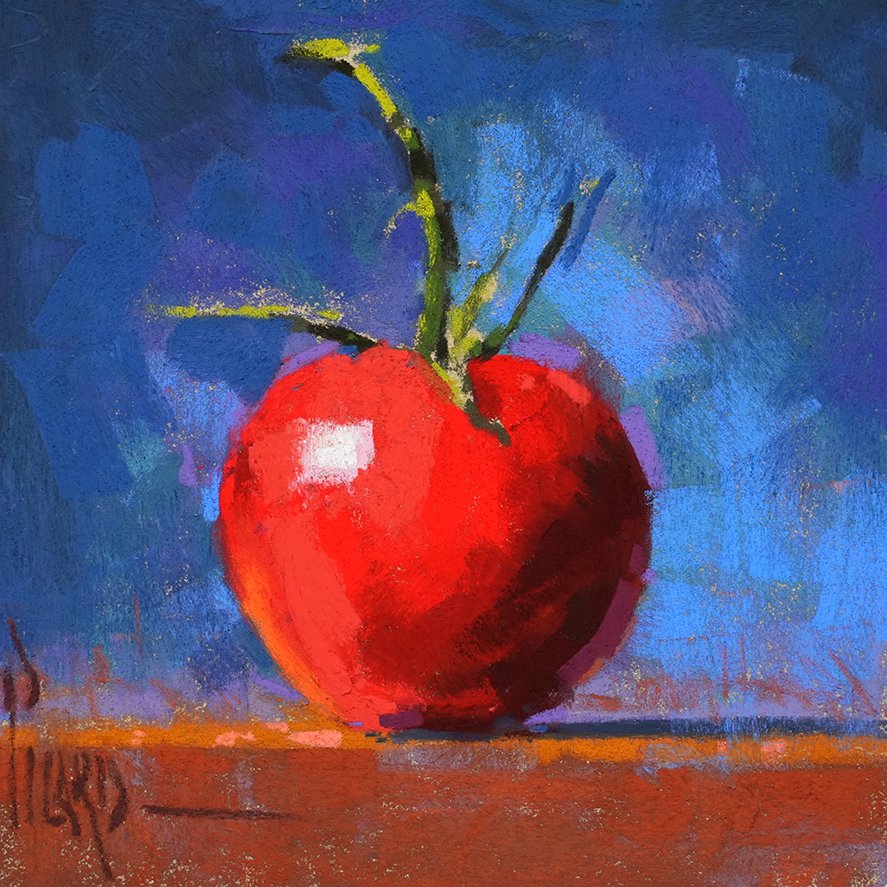
I’ve got a brand-new video lesson for you to get those creative juices flowing. Let’s paint a vine ripe red tomato together so we can enjoy the richness of painting with red as we practice using deep values and saturated colors. This luscious little painting will take you less than an hour to create and provide you with a wonderful jolt of inspiration.

Red is an inspiring color, but it can be deceiving to paint. If it gets too light, we'll lose valuable color impact.

In this video, we’ll cover how to keep your color values on target, so your vine ripe tomato looks deliciously rich and red. Are you ready to paint a red tomato together? Join one of our upcoming classes or workshops where we explore different techniques together.


Artist Hack! The Tape-to-Tape Method

Do you ever find it frustrating when you are working on a pastel painting and your marks keep bumping into the tape that overlaps the edge of your paper?

As pastel artists, we want to take advantage of the direct, energized mark-making that pastels provide. From sketchy lines to big bold side strokes, one thing is for sure. We don’t want anything to get in the way of making those marks. Like tape! 

I have developed a simple yet effective way of taping up my pastel paper that allows it to be securely mounted to the backing board, without any tape overlapping the edges. This method can be used for unmounted papers or fully mounted boards. I call it the tape-to-tape method, and I’ve been using it for years. Let me show you how it’s done. 

In this video, I’ll reveal a tape-to-tape method so you can create bold and free marks beyond the edges of your paper! Download the Tape-to-Tape Guide so you can follow along.

I hope this simple artist hack will help you make marks that are bolder, looser and freer than ever before. 

Keep showing up to the easel for your creative dreams! 
Alain 

How do I draw hair?


As an aspiring artist, you may have pondered the question, "How do I draw hair?" Hair, with its flowing strands and textures, offers a canvas of opportunities to showcase your artistry. Drawing and painting hair can be a truly rewarding experience, allowing you to infuse a sense of freedom and expression into your portraits. Today, I'm delighted to offer you some valuable insights into the art of drawing hair and various hairstyles, a skill that we also delve into more comprehensively in our Painterly Portrait Course.

The Beauty of Drawing Hair:

How to Draw Hair is a subject that I am particularly passionate about in my artistic journey. It's a fascinating aspect of portraiture because it allows you to embrace a loose and painterly pastel style, breathing life into your subjects. While I can't cover all the intricacies in this short post, I hope to provide you with a glimpse of the do's and don'ts when it comes to drawing hair

The Do's and Don'ts of Drawing Hair:

Drawing hair requires a delicate balance of technique and observation. Here are some essential do's and don'ts to keep in mind as you embark on your artistic journey:

✅ The Do's:

  • Look for the large shapes first: Begin by identifying the major shapes of hair and block them in with simple values as a tone.

  • Follow the big pattern of light and shadow: Squint your eyes to simplify the value shapes created by light and shadow.

  • Sketch the values you see: Draw what you observe, not what you assume. Even blond hair can appear darker in shadows, so accurately depicts what you see in your hair reference art.

  • Look for the suggestion of detail: Instead of focusing on precise descriptions, aim to suggest details in the well-lit areas of the hair, not in the shadows.

  • Use a variety of mark-making techniques: Experiment with different mark-making methods to create the surface effects of hair whether it is straight, curly, or texture hair mark-making will help you to its texture and style.

  • Use a variety of edge qualities: Vary the sharpness and softness of edges where hair meets skin, clothing, and the background. The transition can be soft at the hairline but harder like a pencil drawing where it overlaps the face.

🛑 The Don'ts:

  • Don't focus on the details first: Reserve detailed work for later stages of your artwork.

  • Don't focus excessively on surface texture: Avoid becoming overly fixated on the texture of hair, as it should not overshadow the overall masses.

  • Don't paint every hair: Instead of painstakingly rendering each strand, keep it simple aim to create the illusion of detail.

  • Don't be swayed by hair color: Focus on capturing the play of light and shadow on hair, rather than getting distracted by its color.

  • Don't use consistent edges around the hair: Create diversity in edge qualities throughout your artwork, ensuring that hair appears natural in various contexts.

  • Don't overload shadows with detail: Keep shadows subtle, reserving detailed work for the well-lit areas of the hair.

Unlock the Secrets in Our Portrait Course:

If you find this introduction to drawing hair intriguing, you'll be thrilled to know that our Painterly Portrait Course delves into this art form in great detail. In the course, we guide you through the techniques and nuances of capturing both simple and complex hairstyles realistically, ensuring that your portraits exude a sense of authenticity and depth.

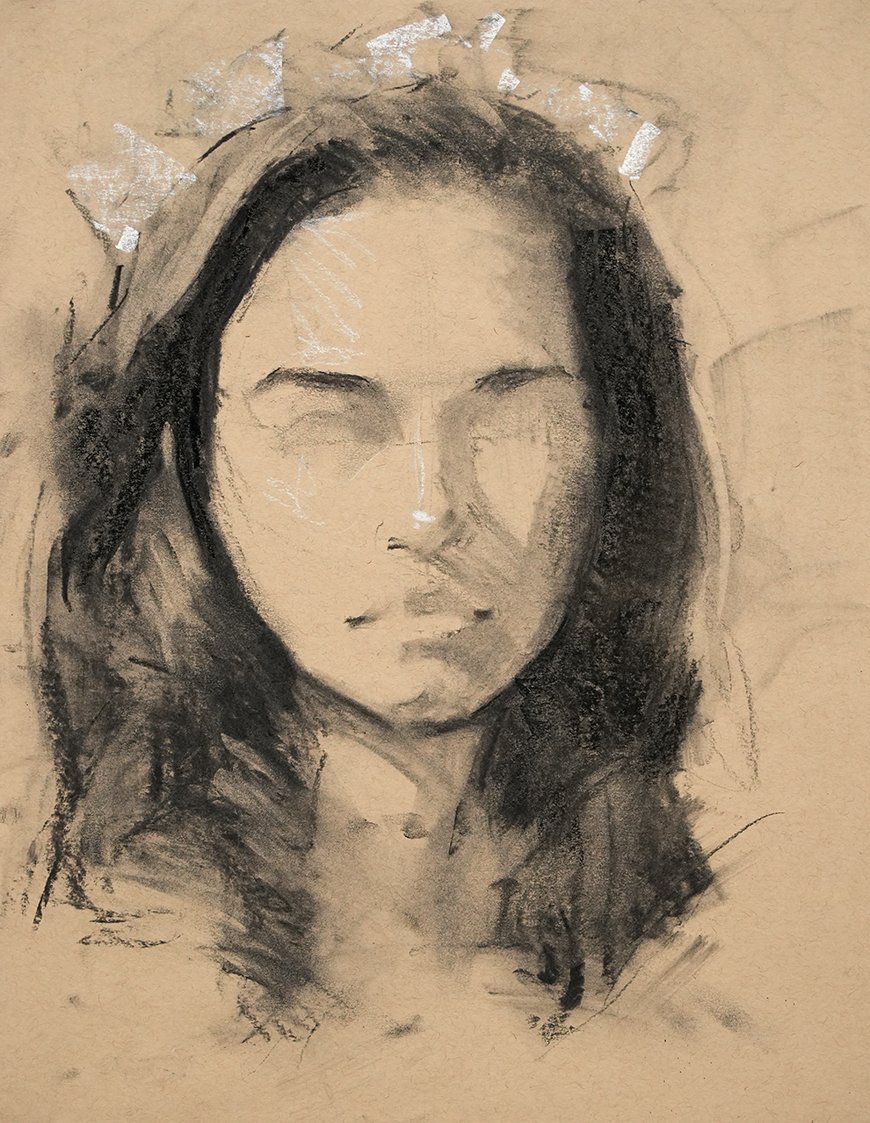
A Sneak Peek: Drawing Hair with Vine Charcoal

To provide you with a taste of what awaits you in our Portraits Course, I invite you to watch the lesson below. In this video, I walk you through valuable tips on how to sketch and draw hair while using vine charcoal. It's a sneak peek into the world of lifelike portrait perfection that you can achieve with the right guidance. This technique is really helpful for drawing dark and black hair.

Join the Next Round of Our Painterly Portrait Course:

Are you ready to embark on a journey to master the art of drawing hair and elevate your portrait skills to new heights? Our Painterly Portrait Course is designed to nurture your talent, boost your confidence, and refine your techniques. By joining the next round of our course, you'll gain access to in-depth lessons, personalized guidance, and a supportive community of fellow artists.

Don't let your portraits struggle with hair. Let's make sure your next portrait has a remarkable "hair day"! Enroll in our Painterly Portrait Course today and experience the transformative journey of artistic growth and mastery. Unlock the secrets to creating portraits that truly come to life.


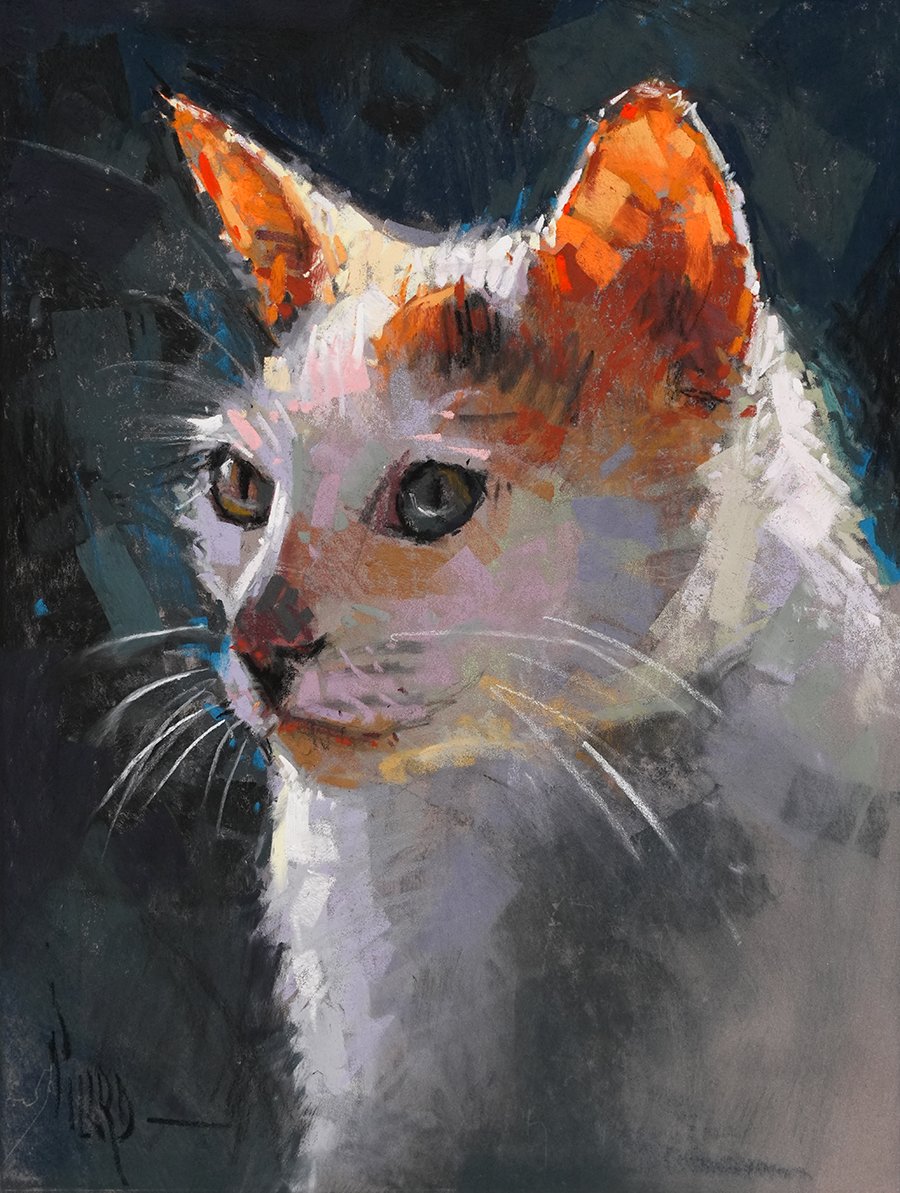
Painting a Cat in Pastel


Part 2 has arrived!

Our previous lesson brought a general impression of the cat to life, but we still have some work to do!

It’s time to meet up at the easel once more, so we can develop our furry feline with all the wonderful things we love about cats. Long whiskers, pointy ears, beautiful eyes, pink nose…🎉

By the end of this lesson, you’ll be purring with affection for the dazzling cat portrait that you've created. 

As promised, here is Part 2 of Painting a Cat in Pastel.

In this video I’ll teach you:

  • How to create the impression of fur by varying your edges

  • How to use light and shadow to paint a white cat with form and volume

  • How to refine without overworking so your cat looks fresh and lively

Click here to watch the video and let me show you how. And if you haven’t seen Part 1 of the lesson yet, you’ll want to head over and watch that here first. 

Be inspired,
Alain 

Want To Paint Your Furry Friend? 😻

Do you have a furry friend in your life?

Wouldn’t it be wonderful to paint your favorite cat?

Meet me at the easel, because in this lesson we’re going to paint a cat together in pastel! Enjoy Part One of this two-part lesson called, How to Paint a Cat in Pastel.

In this video I’ll teach you:

  • How to create the impression of fur by varying your edges

  • How to use light and shadow to paint a white cat with form and volume

  • How to nail the likeness from the start by getting the big shapes right

Click here to watch the video and let me show you how. 

Be inspired,
Alain 

The Secret To Bold And Fresh Color!


Thanks for giving me the opportunity to come along side you and encourage your creative growth throughout the year. It fills me with such fulfillment and joy to share painterly techniques and creative insights that help you flourish so you can make an impact through your art.🙌

I want to express my gratitude to you by sharing a lesson on how to get to bold, expressive color in your paintings filled with freshness and excitement. Would you like to know the secret? Color studies!

Enjoy this video lesson on Color Studies and know that I am so grateful we can share our creative journey together.

Ready to jump into more lessons and more hands-on techniques like these, join us in one of our Pastel Painting courses where we dig deeper into various pastel techniques such as these.

Be inspired!
Alain


Take Your Viewer on a Journey

It’s fall here in Connecticut, and I have recently been enjoying painting country roads. I find them to be such a beautiful metaphor for the journey of life. Meandering paths to unknown destinations, embracing the beauty around us, and taking the road less traveled. These country roads remind us that life is so much more about the journey than the destination. They also give us a great opportunity to design the flow into our work.

I would love to share a few ways you can strengthen your design in your landscape paintings. 


☑️ Compose with Thumbnail Sketches

When it comes to designing the flow, it’s always the right time for thumbnail sketches to search out your composition. Thumbnails help you to simplify the basic values of your scene as you break it down to the basic abstraction and look for depth, flow, shapes and structure.

☑️ Anchor Your Focal Point 

Consider the place in the scene that really attracts you to it, the area that calls your interest. This is the focal point. When you identify this spot, you can consider how the structure of the composition will lead you into and through this important area, then assess other parts of the scene that may need to be cropped or altered in order to keep the emphasis on your focal zone. A focal point doesn’t need to be a parking spot in the painting, it can be a lovely place to linger along the way. 

☑️ See Value Masses 

Simple value masses are critical to strong design. You should narrow them down to just 3 or 4 basic values for thumbnail sketching. Keep them simple! Be sure to squint your eyes and look for strong abstract shapes, rather than focusing on specific things like trees, fences, fields, and roads. Think abstractly in terms of light and dark value masses and try to eliminate details.

Alain Picard, “Gaining Momentum,” 7x16” Pastel on UART500

I hope these tips help create a flow of design that takes the viewer on a fulfilling journey through your work. Keep creating and sharing the beauty you see with the world around you!

Be inspired,

Alain 

PS. Looking for a country road to paint? Enjoy this video of the European countryside and paint along! Landscape Painting Demo - Blue Country View